How to use AWS SSO for nOps
In the nOps platform, navigate to the SSO Configuration settings to enable SSO
Steps to configure AWS SSO integration with nOps
- Prerequisites:
-
You must be logged in to your nOps and AWS management account.
-
IAM Identity Center must be enabled.
- About AWS SSO:
AWS SSO (Amazon Web Services Single Sign-On) is a service offered by Amazon Web Services (AWS) that simplifies access management for AWS accounts and business applications. It is designed to centrally manage user access, permissions, and authentication across multiple AWS accounts and third-party applications.
- Using AWS SSO with nOps
It’s now quick and easy to integrate SSO from your preferred SAML 2.0 provider, for enhanced security and simplified access management. Here are the steps.
Steps to configure
Note: We suggest that you keep both the AWS and nOps platform open in the same browser to switch between during the steps.
Step1: Create an Application with SAML 2.0 configuration.
-
Within your AWS Platform, Navigate to IAM Identity Center → Applications → Add Application
-
Select I have an Application I want to set up
-
Select Application Type: SAML 2.0
-
Provide a suitable Display name & Description to configure

Step2: On the nOps platform, and navigate to Organizational Settings → SSO to Enable SSO.

Step3: Perform the following steps on the AWS platform where Application creation is in progress.
-Copy the IAM Identity Center SAML Issuer URL from AWS. In the nOps platform browser tab, paste the URL into the fields: Issuer URL (entityId) & SAML 2.0 Endpoint (HTTP) (singleSignOnService: URL)
-Copy the Assertion Consumer Service URL from nOps SSO Integration Details and paste it into Application ACS URL.
-Copy the Entity ID from nOps SSO integration Details and paste it into the Application MetaData field Application SAML audience

Step4: Download the IAM Identity Certificate
-
Switch to the AWS platform and download the IAM Identity Certificate
-
Open the IAM Identity Certificate into a text editor such as Notepad
-
Copy the Certificate data and paste it into the nOps platform → Organization Settings → SSO → Your SSO Details section field: X.509 Certificate

Step5: Create an Application in the IAM Identity Center with filled configuration details and configure Attribute mappings.
-
Click on the Actions button and then in Edit attribute mappings in an Application to configure Attribute Mappings for the nOps Application.
-
Add the below mentioned attributes and save changes.
| Application | Maps | Format |
| Subject | ${user:subject} | emailAddress |
| User.Email | ${user:email} | basic |
| User.FirstName | ${user:givenName} | basic |
| User.LastName | ${user:familyName} | basic |

Step6: Provide default roles in the nOps platform.
-
Navigate to Organization Settings → SSO and select Default roles for your User/Groups.
-
Click on Setup SSO Configuration.
Step7: Switch to AWS IAM Identity Center to Create Groups and Users, and assign them in the nOps Application.
-
Navigate to Groups in the left panel of the IAM Identity Center
-
Create a Group and provide Group details
-
Create Users in the left panel of the IAM Identity Center and add these users to the created Group.
-
Redirect to Application → Application → Customer Managed → open nOps Application and Assign Users or Group to this Application.

Note: Ensure user access and user status are enabled.
Step8: Accept the Invitation in your [added users in nOps application] email received from AWS with the subject: Invitation to join AWS IAM Identity Center (successor to AWS Single Sign-On).
-
Accept the invitation received on your email as shown below.
-
Using the AWS access portal URL given in the email, set up the credentials [note: use the given username in the email]
-
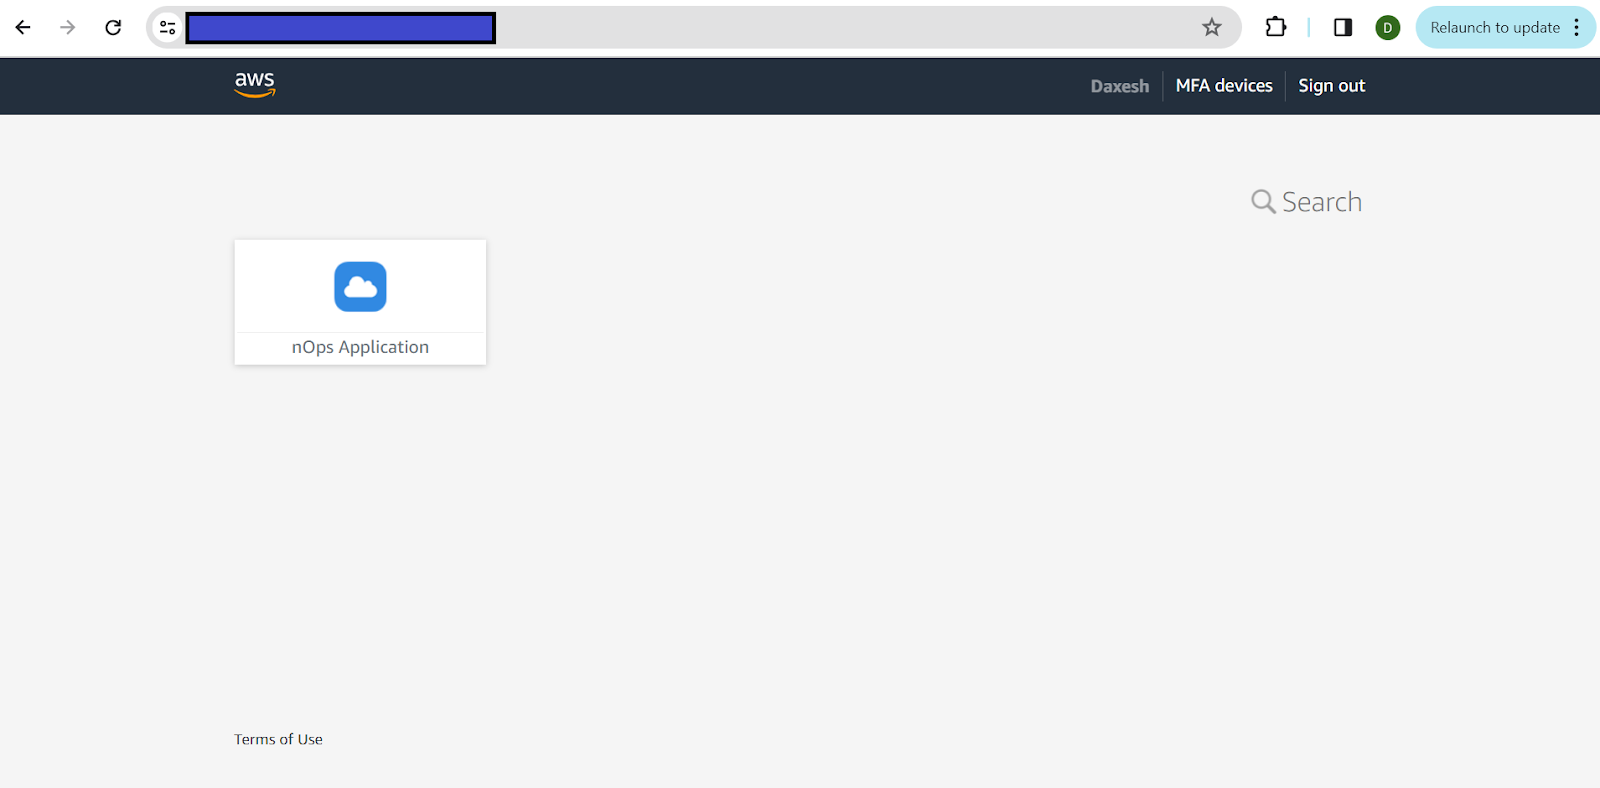
Once you set up the credentials, you will be redirected to the AWS portal where you can view the created nOps Application

- Click on the nOps Application to be redirected to the nOps platform with no Sign-in required.
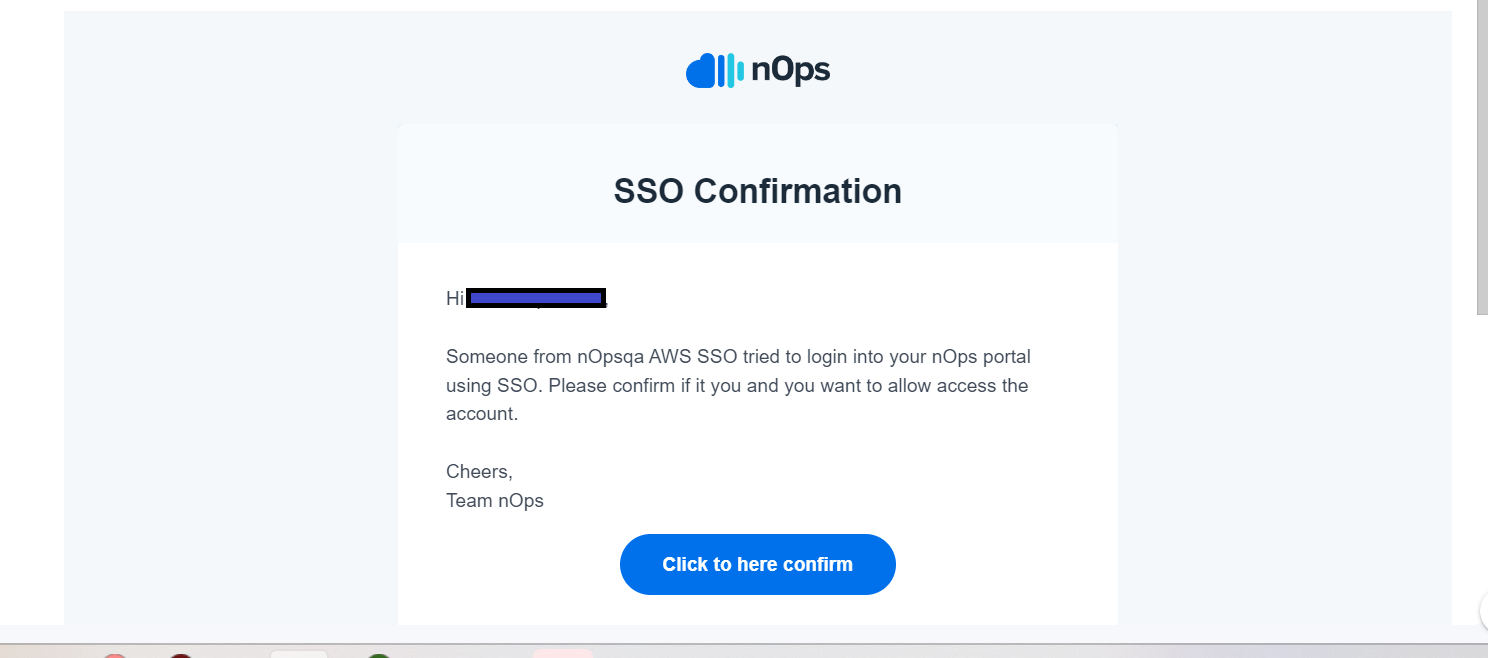
Step9: You will receive an email confirming that you wish to allow SSO access.
Step10: You will be able to use the AWS access portal URL given in the email to directly access the nOps Application.