The nOps Data Explorer
nOps provides an easy and automated method for you to query your cloud resources directly from the nOps platform with the help of nOps Data Explorer powered by GraphQL.
The nOps Data Explorer is divided into:
Query Explorer
==============
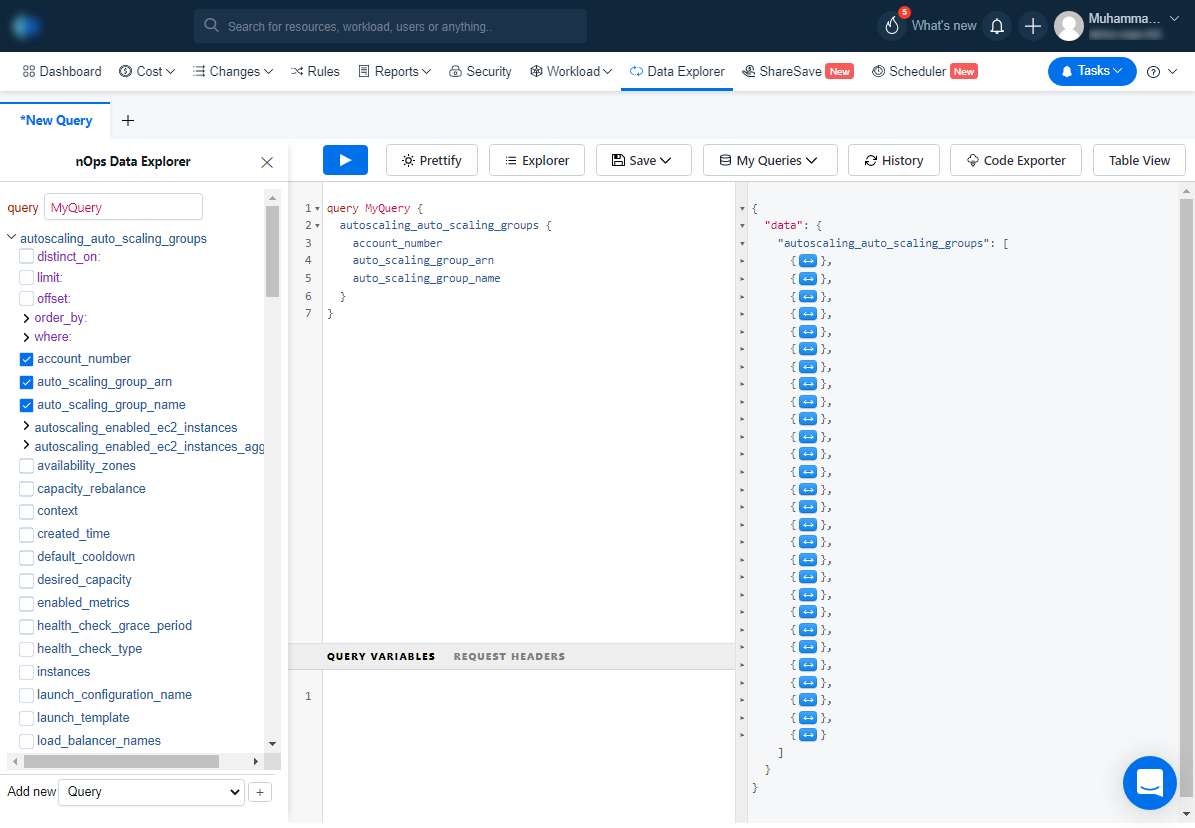
In the nOps Data Explorer panel, nOps constantly refreshes the cloud resources so that you have access to the current state of your environment.
As you expand the resources, you’ll see that you can filter using a simple clickable interface that will build the query interactively — retrieve the exact configuration elements about your resources, and use simple SQL type logic to filter the results.
We’ve also mapped the related resources in the nOps relationship graph. As you expand, you’ll see additional data sources for related resources. This allows you to ask questions like “Find all of the EC2 instances in a specific VPC with Auto Scaling enabled”.
Add New Query/Subscription
With the Query selection, you can add multiple queries in the same request.
Like queries, subscriptions enable you to fetch data. Unlike queries, subscriptions are long-lasting operations that can change their result over time. They can maintain an active connection to your GraphQL server (most commonly via WebSocket), enabling the server to push updates to the subscription’s result.
Subscriptions are useful for notifying your client in real time about changes to back-end data, such as the creation of a new object or updates to an important field.
Query Builder
=============
As you interact with the Data Explorer, you’ll see your query dynamically generated in the Query Builder tab. Once you become a GraphQL ninja, you can also edit directly in this interface.
If you write a query directly into the Query Builder, simply click the Prettify button to automatically format the query and mitigate any flaws in the indentation.
To run a query, click the Play button. The output of your query will be shown in the Query Output tab.
Query Variables
Variables simplify GraphQL queries and mutations by letting you pass data separately. A GraphQL request can be split into two sections: one for the query or mutation, and another for variables.
Request Headers
Use Request Headers to send custom headers with the query.
Query Output
============
The Query Output tab will present your query results. They’ll be presented in an easy-to-consume JSON format. As you add more filters to your query and select the exact resource attributes that you’d like to retrieve, your result set will give you access to the precise data that you’re searching for.
To see the query output in a formatted table format, click the Table View button.
If there are errors in the syntax of the query, the Query Output tab will show an error message.
Data Explorer Actions
=====================
Data Explorer actions support the entire exploring process. With Data Explorer actions you can:
-
Execute Query: After building your query you can click on the run query button to see results.
-
Prettify Query: Formats the queries that you manually created to a visually presentable form.
-
Toggle Explorer: Hide or show the Query Explorer to get more screen space for writing queries and reading the query output.
-
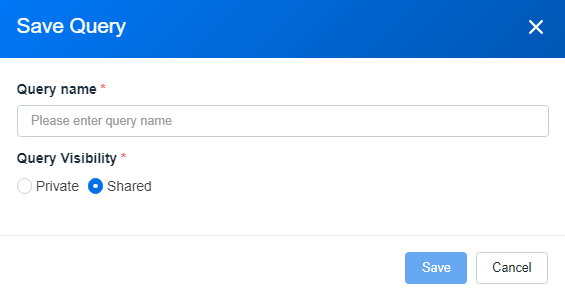
Save Query: Save your queries as Public or Private.
-
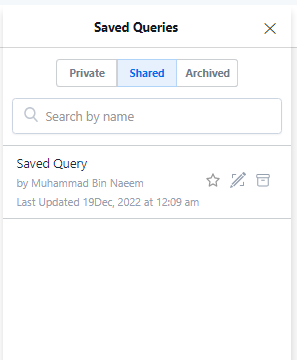
My Queries: Access saved queries.
-
History: See the history of all the queries you’ve made.
-
Table View: See the query output in a formatted table format.
-
Documentation Explorer: Access the GraphQL Schema documentation right here in the Data Explorer.

Save Query
With the Save Query button, you will be able to perform actions on your created queries. You can save your queries as Public and Private.
My Queries
My Queries will open a panel where you can access all the queries that you have saved and those shared by your colleagues. In addition, you’ll be able to favorite, archive, and delete to keep them organized.
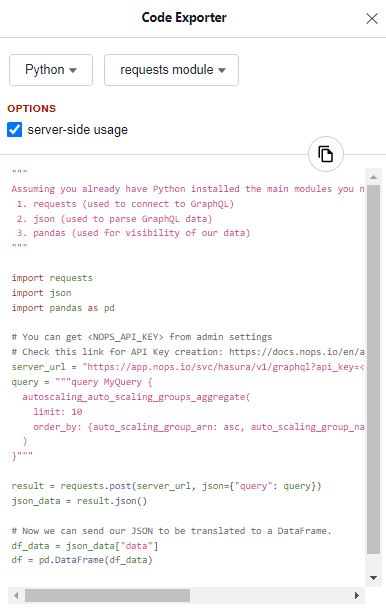
Code Exporter
Once you’ve created a query that returns a meaningful set of resources –like looking for unencrypted S3 buckets– you’ll likely want to integrate with your CI/CD or monitoring system so that you can continuously monitor for matches. The Code Exporter will generate Python and Javascript code that can be easily integrated into your engineering systems.
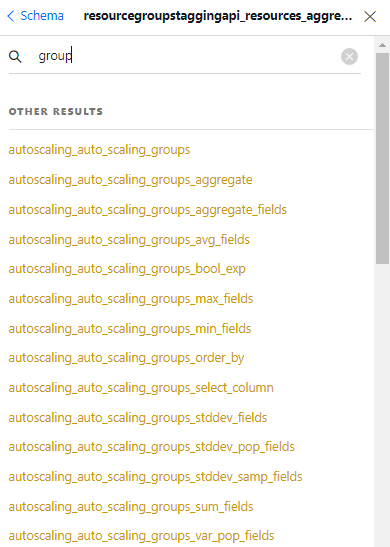
Documentation Explorer
With the Documentation Explorer, you can access the GraphQL Schema documentation right here in the Data Explorer while creating your queries.
Sample Data Explorer Queries
============================
Following are a few sample queries that you can use to get data for your own cloud resources using nOps Data Explorer:
| Name | Description | Example Query |
|---|---|---|
| IAM Users Created After “X” Date | Lists out all IAM Users created after whatever specific date you want. The query has 1/1/22 as the example. |
query MyQuery { iam_users(where: {create_date: {_gt: “2022-01-01”}}) { arn create_date user_id user_name } } |
| All EC2s That Are Windows Machines | This is a query that will show all VMs that are running Windows machines as the platform. | query MyQuery { ec2_instances(where: {platform: {_eq: “windows”}}) { instance_id instance_type platform tags state } } |
| All Encrypted EC2 Snapshots and their Associated EC2 | This shows all snapshots that are encrypted and which EC2 machine these snapshots are associated with. | query MyQuery { ec2_snapshots(where: {encrypted: {_eq: true}}) { description encrypted state snapshot_id ec2_volume { ec2_instances { instance_id state } } } } |
| All CloudFormation Stacks That Failed to Delete | A query that shows all the CloudFormation stacks that failed to delete after being queued up for deletion. | query MyQuery { cloudformation_stacks(where: {stack_status: {_eq: “DELETE_FAILED”}}) { role_arn stack_id stack_name stack_status stack_status_reason } } |
| All IAM Roles Created Between Dates | This query shows you all of the IAM Roles that were created between two date ranges. The date ranges can be edited to show different results. | query MyQuery { iam_roles(where: {create_date: {_lt: “2020-01-01”, _gt: “2019-01-01”}}) { arn role_name create_date description } } |