Azure SSO Integration
While implementing SSO (single sign on), we recommend opening 2 browser tabs. In one tab open and log into your nOps account, in the other open your Azure account. You will need to copy information from one application to the other in order to sync the information and to allow SSO access with Azure.
This topic is for Clients who log in using an Administrator Role. It assumes that you have nOps configured on your Microsoft Entra ID (This was formerly known as Azure AD).
Steps to configure Azure SSO integration with nOps
Note: We suggest that you keep both the AWS and nOps platform open in the same browser to switch between during the steps.
- Create an Enterprise Application inside Microsoft Entra ID
-
Within your Azure portal, Navigate to Enterprise Applications → All Applications → New Application
-
Fill in the name of your app (For example, “nOps SSO”)
-
Keep the default option Integrate any other application you don’t find in the gallery (Non-gallery).
-
Click Create

- On the nOps platform, navigate to Organizational Settings → SSO to Enable SSO and Select SSO Type: Azure

3. Perform the following steps on the Azure Portal where Enterprise Application creation is in progress.
-
In the getting started section, click Setup Single sign on
-
Select SAML
-
Edit Basic SAML Configuration
-
Copy the Entity ID from nOps SSO integration Details and paste it into the Azure Portal → Enterprise Application → Basic SAML Configuration field Identifier Entity ID.
-
Copy the Assertion Consumer Service URL from nOps SSO Integration Details and paste it into Azure Portal → Enterprise Application → Basic SAML Configuration → Reply URL (Assertion Consumer Service URL)
-
Copy the Shareable Link for IDP Login from nOps SSO integration Details and paste it into Azure Portal → Enterprise Application → Basic SAML Configuration → Sign On Url.
-
Save the details

-
Copy the Login URL from Set up nOps SSO and paste it into the nOps platform → SAML 2.0 Endpoint (HTTP) (singleSignOnService: URL)
-
Copy the Microsoft Entra Identifier from Set up nOps SSO and paste it into the nOps platform → Issuer URL (entityId)
**
4. Download the IAM Identity Certificate.
-
Switch to the Azure Portal and download the Certificate (Base64) provided in the SAML Certificates section.
-
Open the downloaded Certificate into a text editor such as Notepad.
-
Copy the Certificate data and paste it into the nOps platform → Organization Settings → SSO → Your SSO Details section field: X.509 Certificate
5. Navigate to Attributes & Claims: Configure Attribute mappings
- Click on the Add new Claim button. You will need to add 3 new claims in the Manage claim screen with providing Name, Source & Source Attribute.
| Name | Source | Source Attribute |
| User.FirstName | Attribute | user.displayname |
| User.LastName | Attribute | user.displayname |
| User.Email | Attribute | user.mail |

Note : The namespace field must be blank, if you are editing existing attributes make sure to delete the namespace.
6. Provide Default roles in the nOps platform.
-
Navigate to Organization Settings → SSO and select Default roles for your User/Groups
-
Click on Setup SSO Configuration

7. Switch to Users and Groups to Create Groups and Users, and assign them in the nOps SSO Application.
-
Navigate to Users and groups in the left panel.
-
Add a new user/group or select an existing option from the list
8. Go to Test single sign-on with nOps SSO and click Test sign in.
9. A confirmation email should appear on your Microsoft email portal. Click to confirm and allow access.. **

Email Copy
**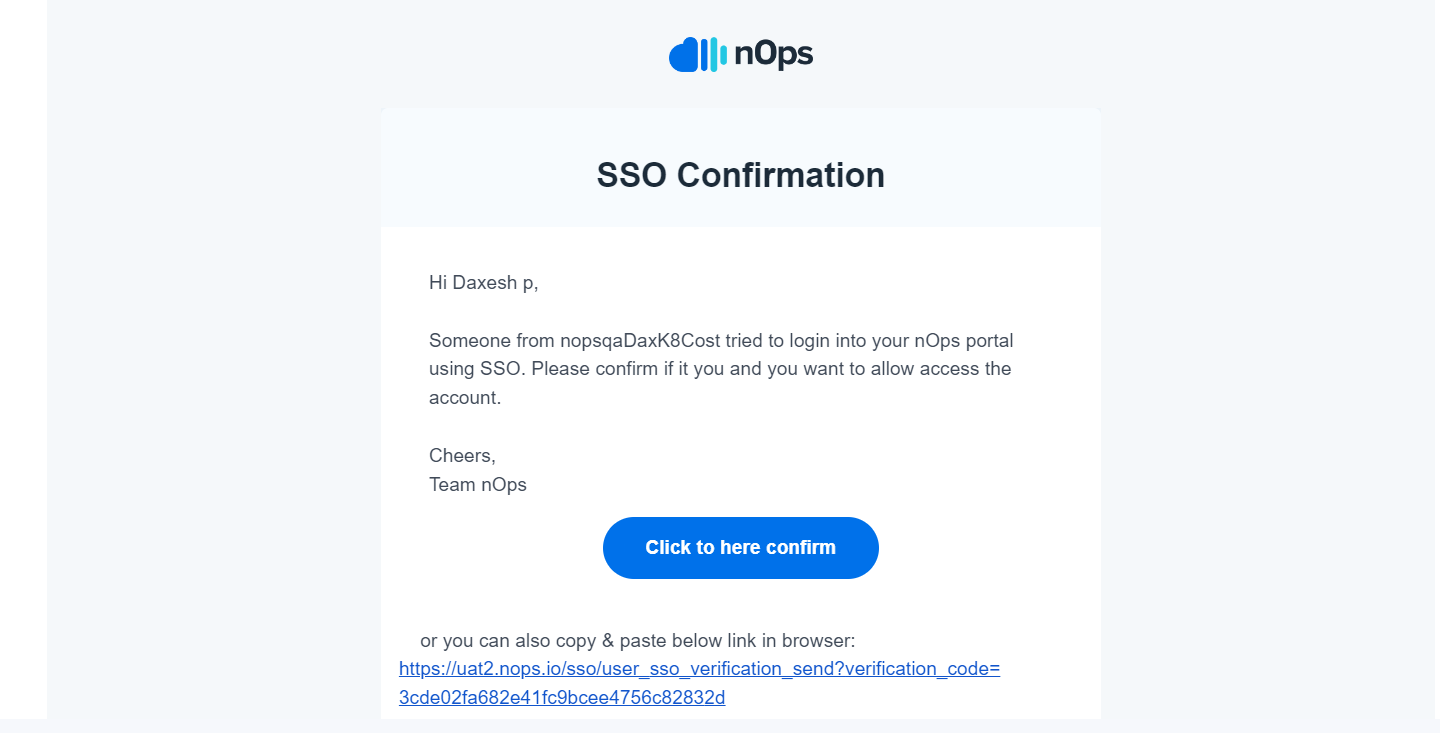
Retry Test single sign-on with nOps SSO and click Test sign in. You should now be able to log into your nOps account.